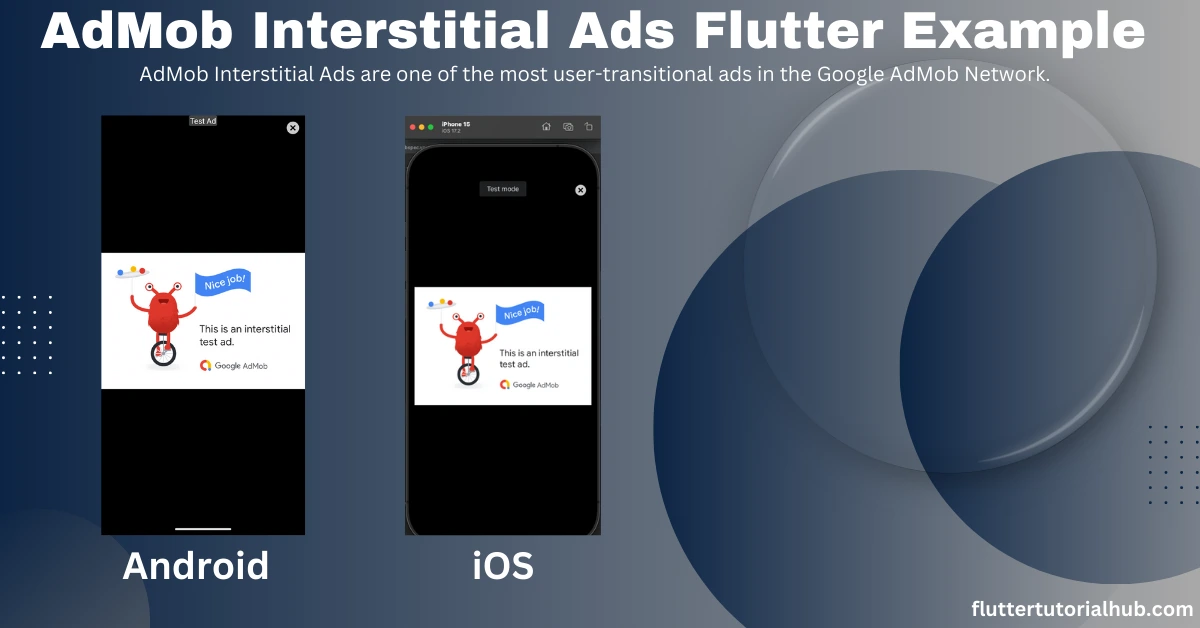
AdMob Interstitial Ads are one of the most user-transitional ads in the Google AdMob Network. It is very easy to integrate in your Flutter project. It displays as an image, video, or interactive content where the user can skip or close the ad after a few seconds. Generally, this kind of ad helps to increase revenue among collapsible banner ads. It displays in full screen where the user can interact with their ad content. It is generally used when starting before a new task or in between game levels. It seems very less interrupting ad type other than native ads and rewarded video ads.
Table of Contents

In this article, We will see that how to integrate AdMob Interstitial Ads in flutter for android and iOS with example. We already discussed about meaning of interstitial ads above. We will see the benefits and drawbacks of using interstitial ads.
Integrate Interstitial Ads in Flutter With Example
Now, We will see step-by step guide to implement coding part below:
Step 1: Declare the Google Mobile Ads package in pubspec.yaml file
 # The following adds the Cupertino Icons font to your application.
 # Use with the CupertinoIcons class for iOS style icons.
  cupertino_icons: ^1.0.6

# Add Mobile Ads package in pubspec.yaml
  google_mobile_ads: ^5.1.0
Tap Pub to get to retrieve the necessary packages in your project.
Step 2: Import header file in main.dart file
Now, we will import the google_mobile_ads package at the beginning..
import 'dart:io';
import 'package:flutter/material.dart';
import 'package:google_mobile_ads/google_mobile_ads.dart';
Step 3: Start the Mobile Ads SDK initialization in main file
void main() {
  WidgetsFlutterBinding.ensureInitialized();
  MobileAds.instance.initialize();
  runApp(const AdmobInterstitial());
}
Step 4: Initialize the InterstitialAd class object to load and show ads
InterstitialAd? _interstitialAd;

// interstitial ads test id

final interstitialAdsTestId = Platform.isAndroid
      ? 'ca-app-pub-3940256099942544/1033173712'
      : 'ca-app-pub-3940256099942544/4411468910'; //replace your live interstitial Id for android & iOS
We will also declare an interstitial ad test ID to load and show testing ads while developing mode. Make sure to create new interstitial ad units under the application name of your AdMob account.
Step 5: Load and show AdMob Interstitial Ads
Before we show ads, we will call a function named loadInterstitialAds() in the initstate method. Ultimately, after calling the loadInterstitialAds function, ads are pre-loaded while you land on the main screen.
@override
  void initState() {
    // TODO: implement initState
    super.initState();
    loadInterstitialAds();
  }


void loadInterstitialAds() {
    InterstitialAd.load(
        adUnitId: interstitialAdsTestId,
        request: const AdRequest(),
        adLoadCallback: InterstitialAdLoadCallback(
          onAdLoaded: (ad) {
            ad.fullScreenContentCallback = FullScreenContentCallback(
                onAdShowedFullScreenContent: (ad) {},
                onAdImpression: (ad) {},
                onAdFailedToShowFullScreenContent: (ad, err) {
                  ad.dispose();
                },
                onAdDismissedFullScreenContent: (ad) {
                  ad.dispose();
                },
                onAdClicked: (ad) {});

            debugPrint('$ad loaded.');

            _interstitialAd = ad;
          },
          onAdFailedToLoad: (LoadAdError error) {
            debugPrint('InterstitialAd failed to load: $error');
          },
        ));
  }
Now, we will call the show method to show ads.
_interstitialAd?.show();Step 6: Adding AdMob Support to Your Android App
To integrate Google AdMob, update your AndroidManifest.xml with this code.

Step 7: How to Add AdMob App ID in Info.plist (iOS Setup)
For AdMob to work in your iOS app, update Info.plist with this code.

Step 8: Show AdMob Interstitial Ads in Your Flutter Application (Full Code)
import 'dart:io';
import 'package:flutter/material.dart';
import 'package:google_mobile_ads/google_mobile_ads.dart';

// Declare here --> void main() (see step 3)

class AdmobInterstitial extends StatelessWidget {
  const AdmobInterstitial({super.key});

  @override
  Widget build(BuildContext context) {
    return MaterialApp(
      title: 'Admob Interstitial Ads Flutter',
      debugShowCheckedModeBanner: false,
      theme: ThemeData(
        colorScheme: ColorScheme.fromSeed(seedColor: Colors.deepOrange),
        useMaterial3: true,
      ),
      home: const AdmobInterstitialAds(title: 'Admob Interstitial'),
    );
  }
}

class AdmobInterstitialAds extends StatefulWidget {
  const AdmobInterstitialAds({super.key, required this.title});

  final String title;

  @override
  State<AdmobInterstitialAds> createState() => _AdmobInterstitialAdsState();
}

class _AdmobInterstitialAdsState extends State<AdmobInterstitialAds> {

//  Initialize the InterstitialAd class object and interstitial ads test ID. (see step 4)


// Declare here -->  void initState()  (see step 5)


// Declare here -->  void loadInterstitialAds()  (see step 5)

  @override
  Widget build(BuildContext context) {
    return Scaffold(
      appBar: AppBar(
        centerTitle: Platform.isAndroid ? false : true,
        backgroundColor: Colors.deepOrange,
        title: Text(widget.title),
        foregroundColor: Colors.white,
      ),
      body: Center(
          child: Column(
            mainAxisAlignment: MainAxisAlignment.start,
            children: <Widget>[
              const SizedBox(height: 50),
              const Text(
                'Display Admob Interstitial iOS',
                style: TextStyle(
                    fontSize: 18,
                    fontWeight: FontWeight.w600,
                    color: Colors.black),
              ),
              const SizedBox(height: 20),
              SizedBox(
                height: 200,
                width: 350,
                child: Image.asset(
                  "images/interstitial.png",
                  fit: BoxFit.fitHeight,
                ),
              ),
              const SizedBox(height: 50),
              Container(
                width: 100,
                height: 50,
                color: Colors.deepOrange,
                child: TextButton(
                    onPressed: () {
                      _interstitialAd?.show();
                    },
                    child: const Text('Show Ads',
                        style: TextStyle(
                            fontSize: 14,
                            fontWeight: FontWeight.w500,
                            color: Colors.white))),
              )
            ],
          )
      ),
    );
  }
}
Step 8: Run the project!
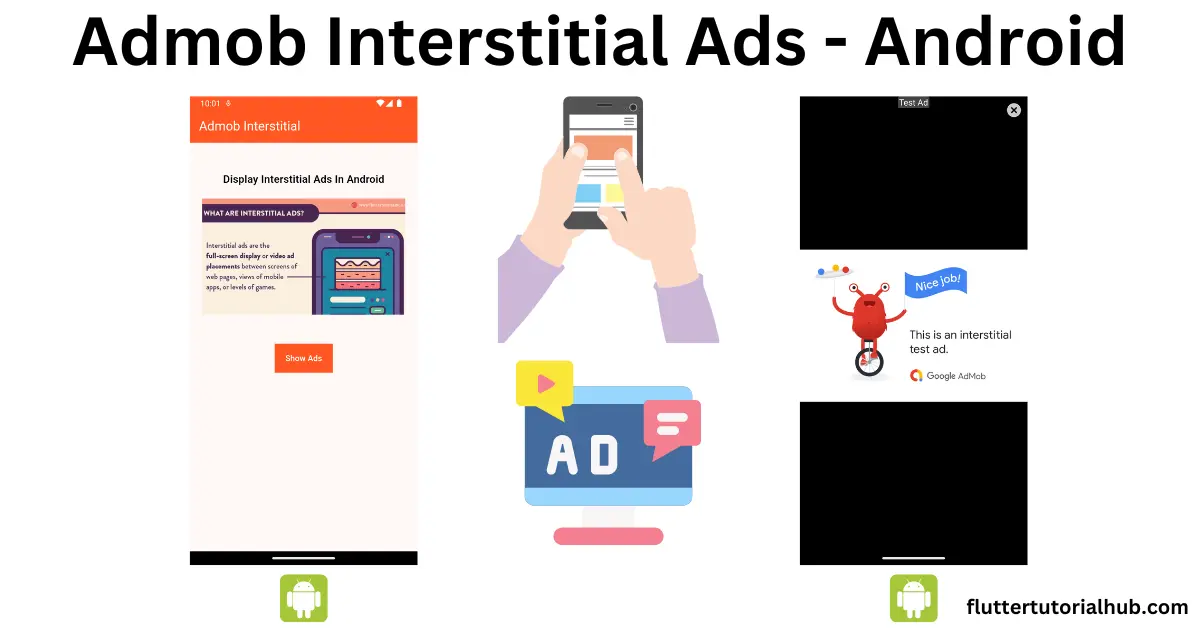
Android Output:

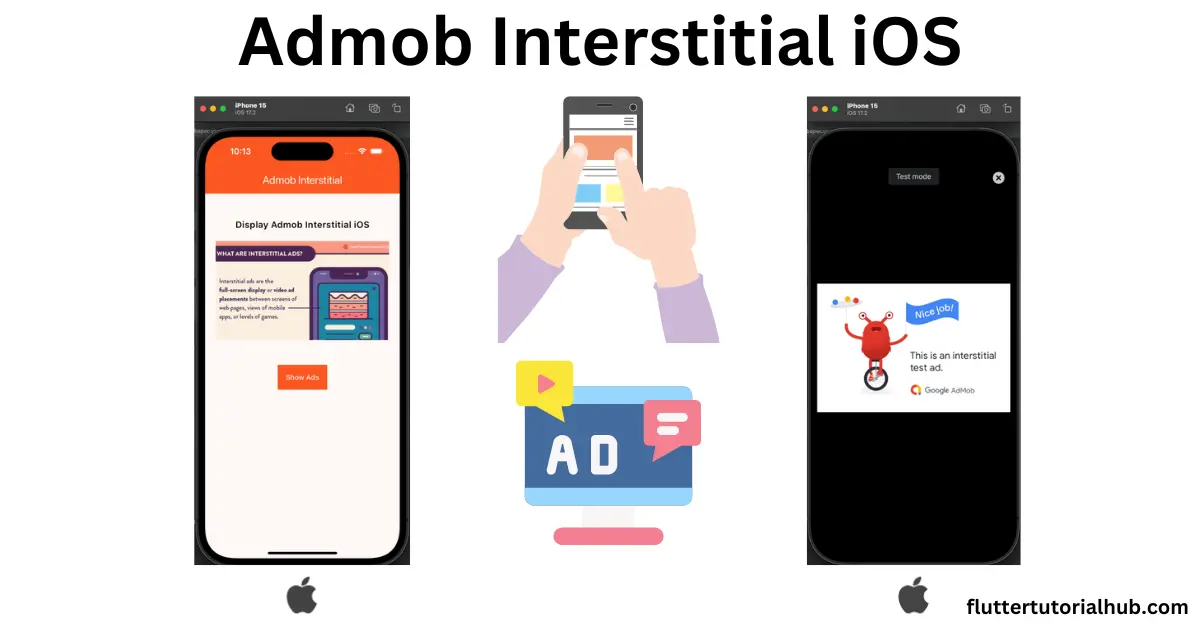
iOS Output: iPhone 15 simulator

Benefits of Using Interstitial Ads
There are many benefits to using interstitial ads in Android and iOS applications. We will see in detail below:
- Cross-Platform: These ads are compatible for multiple platforms of mobile applications. You can run it in Android and iOS with a single code base.
- Non-Disturbing: This ad allows the user to interact with the screen without any disturbance. Ultimately, the user interacts with the screen for such a long time.
- High Revenue: This ad format displays video and images with the full-screen content. There are more chances to convert into customer leads and generate higher revenue.
Drawbacks of Interstitial Ads
We will see the drawbacks of interstitial ads below:
- Accidental Clicks: Interstitial ads cover the full screen; the user may accidentally click on them. It also increases user frustation level.
- Long Loading Times: It contains video ads and can take a long time to load.
- Loss of Control Over Content: Sometime ads will display content that is totally out of user interest. Developers have some limited control over content.
Conclusion
Using AdMob Interstitial Ads generates high revenue, but it also annoyed the user while displaying ads in full content. Make sure to implement it without user disturbance. It is very important to show ads with a setting of ad frequency and time frame.
Frequently Asked Questions(FAQs)
How to add interstitial ads in Flutter app?
To add interstitial ads in the Flutter app is very easy. You need to follow the steps discussed in this article. You need to integrate Google Mobile SDK in your Flutter project. You need to create an instance of an interactive ad object. You have to load ads before showing them to users.
How do you use interstitial ads?
You need to use it naturally. End of stage or game level, you can show ads to users. Don’t use it more time to maintain a better user experience.

I’m a Flutter and iOS developer, entrepreneur, and owner of fluttertutorialhub.com. I live in India, and I love to write tutorials and tips that can help other developers. I am a big fan of Flutter, FlutterFlow, iOS, Android, mobile application development, and dart programming languages from the early stages. I believe in hard work and consistency.
