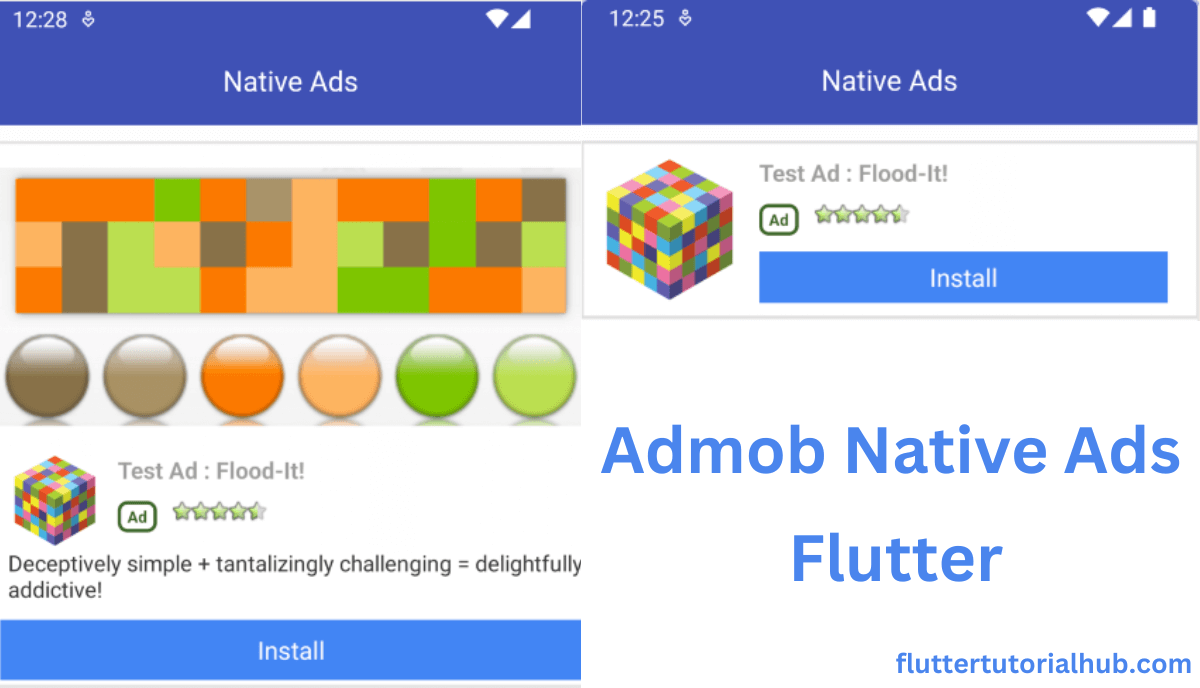
Nowadays, Every app developer wants to make a high amount of revenue from their app. So the monetization of ads is a crucial part of the application. Google AdMob, a leading mobile advertising network, provides different kinds of ads. From various types of ads, we will learn how to integrate Google Admob Native Ad in your Flutter app. Before starting to integrate it, we will see the concept of Native Ads, their benefits, and the steps to integration in the project.
Table of Contents

Understanding Native Ads:
Unlike traditional ads or interstitial ads, Native ads are like natural goods, and provide advertising and marketing that is not obvious, easy to the person, It also allows the average user to enjoy themselves.
AdMob Native Ads supports customizable templates and advertisements that are allowing developers to customize the types of ads to match the quality in their app. Developers can also choose small, medium and large ad components that first-rate in shape their app design. They can integrate google admob native ads of their projects. They can also use different layout to display ads.
Key Benefits of Native Ads:
Enhanced User Experience – Native ads interface are easy to use for the developers. This indirect method guarantees a smooth transition between content and advertisements which is resulting in better user satisfaction.
Increased Ad Engagement – Native ads layout performs at that way so that user can interact with the ads. Users are more friendly to click on ads. It is more user friendly display so user can engagement easily and coverts into higher click-through rates (CTR).
Improved Ad Performance – Native ads layout displays in the proper way to all devices. It provides best results compare to other ad formats like Banner, Adaptive Banner or App Open ads. Their nature reduces ad blindness and banner fatigue resulting in higher conversion rates for advertisers.
Let’s start How to add Admob Native Ads to the Flutter App
Step 1: Create a new Project
- Open Android Studio.
- Click on New Flutter Project.
- Make sure you have selected your Flutter SDK Path. Click Next
- Enter the Project Name, Project Location (where you need to put the project),
- Select the project type (Default Application).
- Enter Organization
- Select Android and iOS languages (default: Kotlin and Swift).
- Select Platforms (On which platform you want to run the project).
- Click on Finish button.
- Now wait for the project to finish building.
Step 2: Adding the Mobile Ads Package in the pubspec.yaml
- Open the pubspec.yaml file from the left panel of the project directory.
- Add the google_mobile_ads package under dependencies.
google_mobile_ads: ^3.0.0- Click on Pub get to retrieve packages in the project.
- Go to android/build.gradle and import the below dependencies.
dependencies {
    classpath 'com.android.tools.build:gradle:7.3.1'
    classpath "org.jetbrains.kotlin:kotlin-gradle-plugin:$kotlin_version"
    classpath 'com.google.gms:google-services:4.3.15'
}- Go to android/app/build.gradle and import the below plugin.
apply plugin: 'com.android.application'
apply plugin: 'kotlin-android'
apply from: "$flutterRoot/packages/flutter_tools/gradle/flutter.gradle"
apply plugin: 'com.google.gms.google-services'- Make sure you have already added the google-services.json file in the android/app level folder.
Step 3: Modify AndroidManifest.xml
- Add the internet permission to the Android Manifest file. Go to android/app/src/main/AndroidManifest.xml
- Add internet permission before <application> tag
<uses-permission android:name="android.permission.INTERNET"/>- Now we add our AdMob AppId to your in AndroidManifest file by adding the <meta-data> tag inside the
<application>tag
<manifest>

    <application>

           <meta-data
                 android:name="com.google.android.gms.ads.APPLICATION_ID"
                 android:value="ca-app-pub-3940256099942544~3347511713"/>

    </application>

</manifest>
Step 4: Implement code to display native ads.
- initialize the Mobile Ads SDK in main.dart file
void main() async{

  WidgetsFlutterBinding.ensureInitialized();
  MobileAds.instance.initialize();
  runApp(const MyApp());

}
- Let’s add the home.dart file to your lib folder.
- Import google_mobile_ads package on top.
import 'package:google_mobile_ads/google_mobile_ads.dart';- Create native ad object
//creating Object of NativeAd

NativeAd? _nativeAd;- Create the ad objects and load ads.
// Create the ad objects and load ads.
    _nativeAd = NativeAd(
      adUnitId: '/6499/example/native',  // Test ID :- /6499/example/native
      request: AdRequest(),
      listener: NativeAdListener(
        onAdLoaded: (Ad ad) {
          print('$NativeAd loaded.');
          setState(() {
            //_nativeAdIsLoaded = true;
          });
        },
        onAdFailedToLoad: (Ad ad, LoadAdError error) {
          print('$NativeAd failedToLoad: $error');
          ad.dispose();
        },
        onAdOpened: (Ad ad) => print('$NativeAd onAdOpened.'),
        onAdClosed: (Ad ad) => print('$NativeAd onAdClosed.'),
      ),
      nativeTemplateStyle: NativeTemplateStyle(
        templateType: TemplateType.medium,
        mainBackgroundColor: Colors.white12,
        callToActionTextStyle: NativeTemplateTextStyle(
          size: 16.0,
        ),
        primaryTextStyle: NativeTemplateTextStyle(
          textColor: Colors.black38,
          backgroundColor: Colors.white70,
        ),
      ),
    )..load();
- There are two types of native ads in TemplateType. (1) Medium (2) Small
- Display native ads using the widget.
Padding(
              padding: const EdgeInsets.only(top:10.0),
              child: ConstrainedBox(
                constraints: const BoxConstraints(
                  minWidth: 300,
                  minHeight: 350,
                  maxHeight: 400,
                  maxWidth: 450,
                ),
                child: AdWidget(ad: _nativeAd!),
              ),
)- Remove the native ads object by using the below method.
@override
  void dispose() {
    super.dispose();
    _nativeAd?.dispose();
  }
Step 5: Implement full code to display admob native ads in the home.dart file.
import 'package:flutter/material.dart';
import 'package:google_mobile_ads/google_mobile_ads.dart';


class Home extends StatefulWidget {
  const Home({Key? key}) : super(key: key);

  @override
  State<Home> createState() => _HomeState();
}

class _HomeState extends State<Home> {

//creating Object of NativeAd
NativeAd? _nativeAd;


@override
  void initState() {
    // TODO: implement initState
    super.initState();
    loadNativeAd();
  }

@override
  void dispose() {
    super.dispose();
    _nativeAd?.dispose();
  }

void loadNativeAd(){

// Create the ad objects and load ads.
    _nativeAd = NativeAd(
      adUnitId: '/6499/example/native',  // Test ID :- /6499/example/native
      request: AdRequest(),
      listener: NativeAdListener(
        onAdLoaded: (Ad ad) {
          print('$NativeAd loaded.');
          setState(() {
            //_nativeAdIsLoaded = true;
          });
        },
        onAdFailedToLoad: (Ad ad, LoadAdError error) {
          print('$NativeAd failedToLoad: $error');
          ad.dispose();
        },
        onAdOpened: (Ad ad) => print('$NativeAd onAdOpened.'),
        onAdClosed: (Ad ad) => print('$NativeAd onAdClosed.'),
      ),
      nativeTemplateStyle: NativeTemplateStyle(
        templateType: TemplateType.medium,
        mainBackgroundColor: Colors.white12,
        callToActionTextStyle: NativeTemplateTextStyle(
          size: 16.0,
        ),
        primaryTextStyle: NativeTemplateTextStyle(
          textColor: Colors.black38,
          backgroundColor: Colors.white70,
        ),
      ),
    )..load();
}

  @override
  Widget build(BuildContext context) {
    return Scaffold(
      appBar: AppBar(
        title: const Text('Native Ads',
            style: TextStyle(fontSize: 18.0, color: Colors.white)),
        backgroundColor: Colors.indigo,
        centerTitle: true,
        iconTheme: const IconThemeData(color: Colors.white),
      ),
      body: Container(
         child: Padding(
           padding: const EdgeInsets.only(top:10.0),
           child: ConstrainedBox(
             constraints: const BoxConstraints(
               minWidth: 300,
               minHeight: 350,
               maxHeight: 400,
               maxWidth: 450,
             ),
             child: AdWidget(ad: _nativeAd!),
           ),
         ),
       ),
    );
  }
}
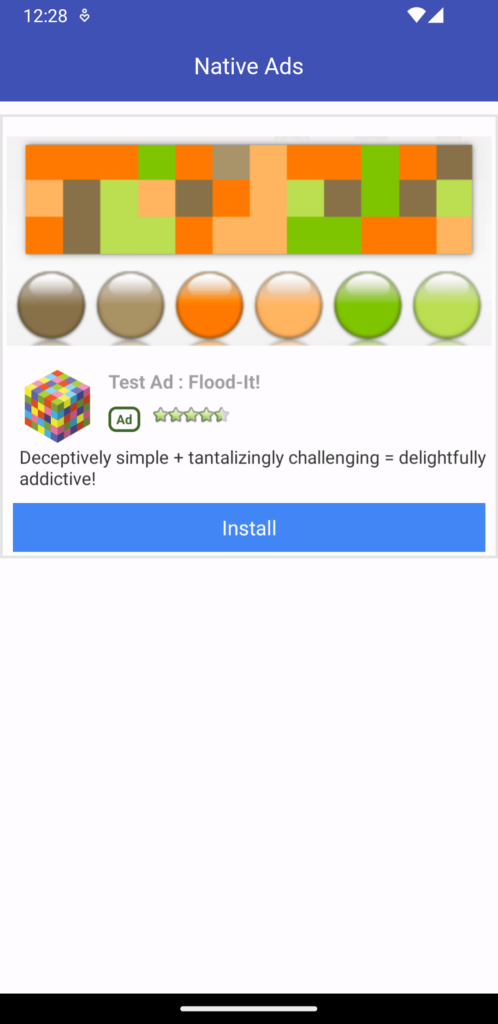
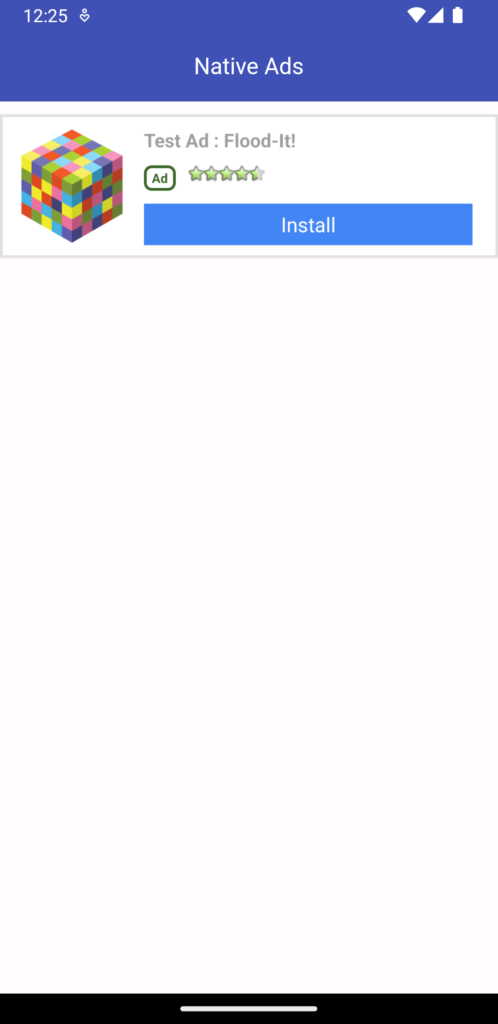
Step 6: All set! Run the project. See the screenshots of google native ads below.
Medium Native ad show at the top of the user device screen

Small Native ad show at the top of the user device screen

Conclusion
Google AdMob Native Ads into your project with the above steps, It allows you to earn high revenue while maintaining a easy user experience. you can find the right balance between making money and keeping your users happy. It is easy to integrate among the collapsible banner admob ads and rewarded video ads.
Frequently Asked Questions(FAQs)
What is AdMob native ads?
AdMob native ads check with a form of commercial format provided by Google AdMob (Mobile Advertising Platform). These ads are designed to easy way into the apps. Native Ads are incorporated extra efforts within the app’s content and making them much less Irritating and extra person-friendly.
How do you implement AdMob native ads in Flutter?
To integrate Google AdMob Native Ads into your project, follow the steps described in the post.
What are native ads in an Flutter app?
AdMob Native Ads supplying app builders with a sales producing opportunity while making sure users get hold of advertisements that blend effortlessly into their app revel in.
How to run native ads in Flutter app?
Running native ads in a Flutter app involves a sequence of steps to integrate the commercials seamlessly.
What are difference between native ads vs display ads?
Native ads displays as per user interest. It means advertising ignores traditional banner techniques to add.
What is a native ads platform?
A native advertising and marketing platform lets in advertisers and publishers to help for reaching their advertising and marketing desires. Native advertising is paid media that matches the content material within the media supply.

I’m a Flutter and iOS developer, entrepreneur, and owner of fluttertutorialhub.com. I live in India, and I love to write tutorials and tips that can help other developers. I am a big fan of Flutter, FlutterFlow, iOS, Android, mobile application development, and dart programming languages from the early stages. I believe in hard work and consistency.
