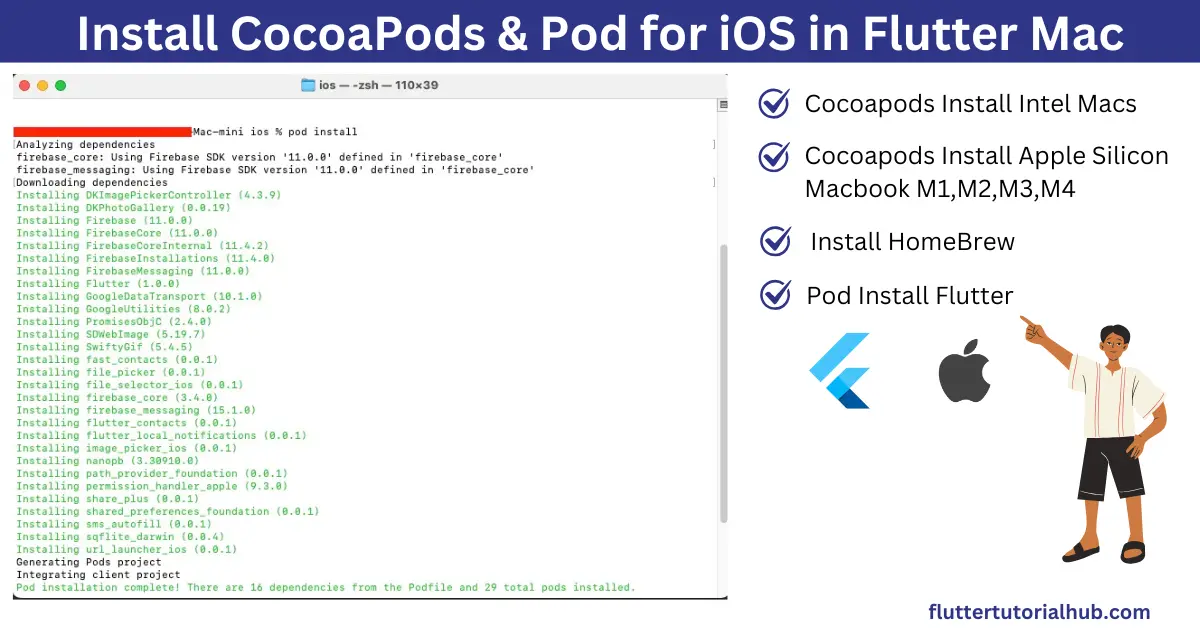
If you are struggling to install CocoaPods and Pods for iOS in your Flutter project, then you are coming to the right article. In this article, we will see how to install both pod files in your Flutter project and make iOS run successfully. There are so many developers who are newbies about Flutter, and some of them started their journey with Flutter. Some of them already know it and are struggling with pod installation errors. Before we dive into the pod installation part, we will see the importance of CocoaPods in Flutter.
Table of Contents

What is CocoaPods in Flutter?
CocoaPods is a dependency manager for iOS projects. While you want to run iOS devices from your Flutter project, it will help to manage frameworks and libraries for the project. It is necessary to integrate native iOS dependencies.
How to install CocoaPods in Flutter?
To install CocoaPods in Flutter, you may need to follow the below steps:
(1) Before installing, you need to check in your system. Open the terminal and paste the below code:
pod --version If CocoaPods is installed, you will see its version. If not, follow the next step.
(2) Use the following command to install CocoaPods. This command installs CocoaPods globally on your Mac.
sudo gem install cocoapodsHow to remove CocoaPods from Mac?
To remove CocoaPods from Mac, you need to follow the below steps.
(1) Uninstall the CocoaPods gem
CocoaPods is installed as a Ruby gem. By using the following command:
sudo gem uninstall cocoapods(2) Remove Cocoapods related cache
While you install it, it will store some cache file on your Mac, so while uninstalling it, you need to remove the cache file from your system by using the below command:
rm -rf ~/.cocoapods/It deletes your CocoaPods cache directory.
(3) Delete CocoaPods configuration files
You may have some CocoaPods-related files in your project. Below is a list of files and directories you need to delete.
- Podfile
- Podfile.lock
- Pods/ (Folder)
How to install CocoaPods on Apple Silicon Macs M1, M2, M3, and M4?
Many developers are having trouble while installing CocoaPods on an Apple silicon chip-based Mac. There are compatibility issues regarding CocoaPods and silicon chip-based MacBooks. I personally faced issues throughout the installation process. So if you are new and want to install CocoaPods on an Apple silicon chip-based Mac (M1, M2, M3, or M4), you need to follow the below steps:
(1) Make sure you have to install Rosetta. If you don’t, then you can install it by using the below command.
softwareupdate --install-rosetta(2) Install Homebrew
Go to the official Homebrew website. Now open terminal. You need to copy code from the Homebrew site to install CocoaPods on your MacBook. The command is given below:
/bin/bash -c "$(curl -fsSL https://raw.githubusercontent.com/Homebrew/install/HEAD/install.sh)"(3) Install CocoaPods using brew.
Now, all set up by installing Homebrew on your Mac system. Now, you need to install CocoaPods.
brew install cocoapodsInstall pod for iOS Flutter
To install pods in your Flutter iOS project, you need to open the terminal. Follow the below steps to install it.
(1) Open the iOS project directory in Finder.
Just drag this folder into the terminal or write the below command:
cd your_flutter_project/iosMake sure while you drag a folder in terminal, “cd” is already there.

Now, make sure to prompt the command in the iOS directory in your terminal.
(2) Once you are in the iOS directory, run the below command:
pod install
Now, you can see downloaded dependencies.
Conclusion
After following all steps for the process, it is very easy to install CocoaPods on a Mac or Apple Silicon chip-based MacBook. CocoaPods is necessary to build an iOS app using the Flutter project. Now all processes are completed, and you may go now to run iOS.
Frequently Asked Questions (FAQ)
How to install CocoaPods on macOS M1?
To install CocoaPods on your Mac M1, you need to install Homebrew; after that, you can install CocoaPods on your Apple Silicon macOS M1.
How long do CocoaPods take to install?
If you follow the steps described in this article, then you can install it in around 5 to 20 minutes.
How to check if CocoaPods are installed or not?
You can check with the command pod –version in your terminal.
Why is my CocoaPods not working?
You are getting some issues with the installation process of CocoaPods. You need to check what exact errors you are getting. To fix those errors, you can follow these steps to fix it.
What is the latest version of CocoaPods?
You can find it by using its official site.
Why do we use CocoaPods in iOS?
CocoaPods is essential to run an iOS project. It is a dependency manager for Swift and Objective-C projects. Without installation in your Mac system, you can’t run iOS projects.

I’m a Flutter and iOS developer, entrepreneur, and owner of fluttertutorialhub.com. I live in India, and I love to write tutorials and tips that can help other developers. I am a big fan of Flutter, FlutterFlow, iOS, Android, mobile application development, and dart programming languages from the early stages. I believe in hard work and consistency.
